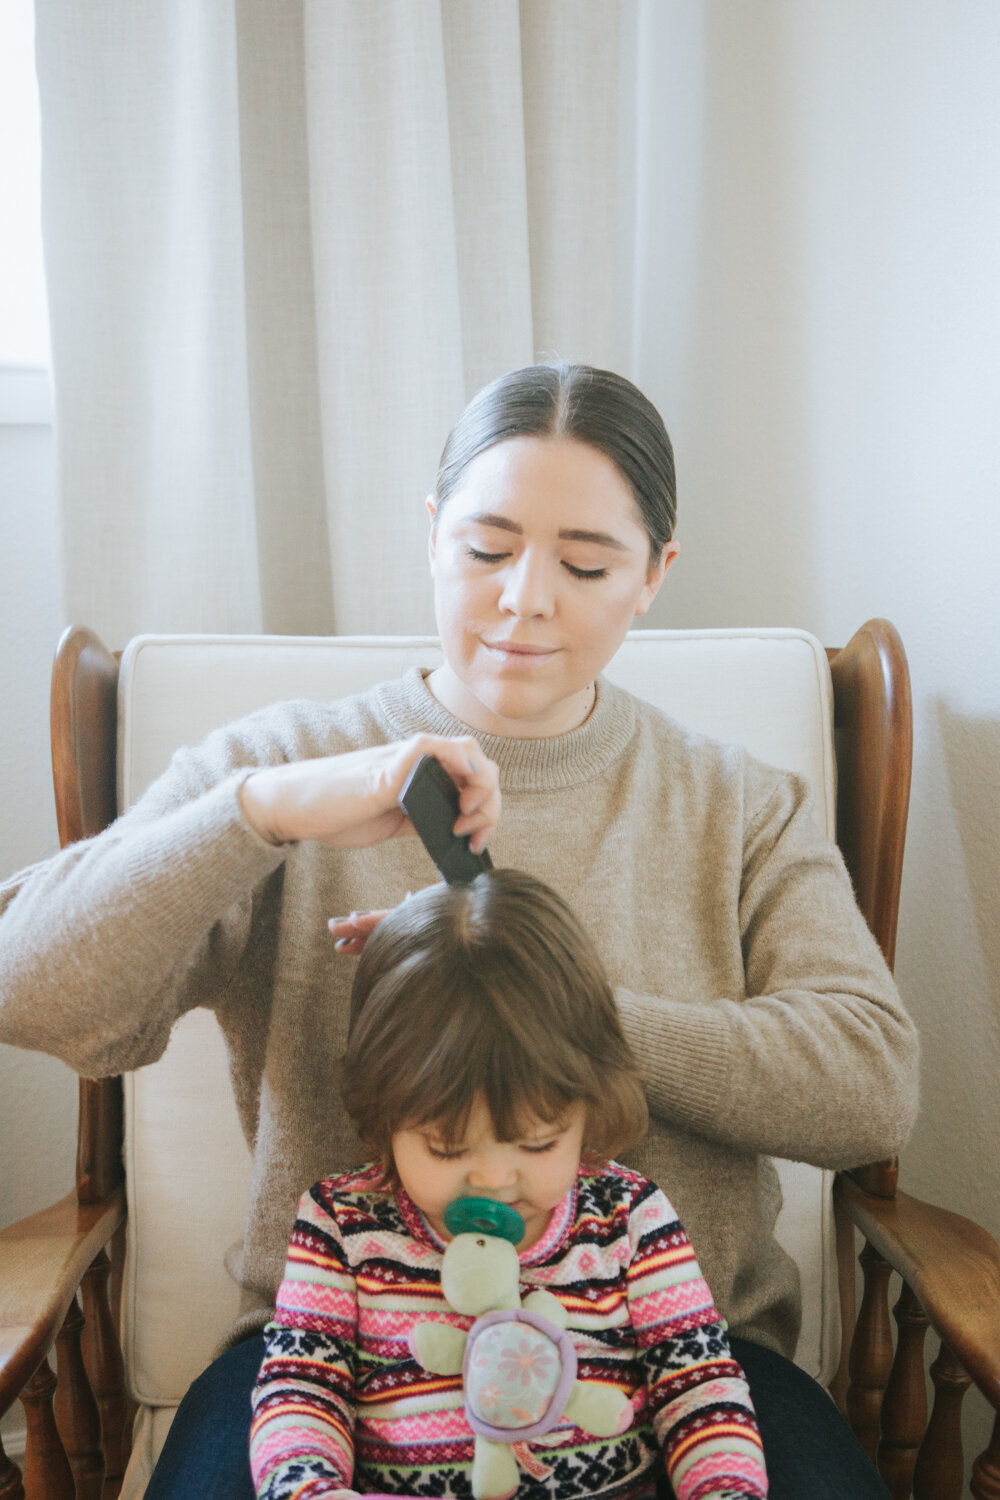
Center Braid Hair Tutorial
Raise your hand if braids are your go-to summer style? Since cutting my hair earlier this spring, I’ve resorted to testing out different braids to keep my layers away from my face. This center braid style has been a huge favorite of mine and it’s incredibly easy to recreate! To try this at home you will need a comb, braid cream (or hair gel), and a clear elastic.
Start by sectioning the hair at the crown (top) of the head with a comb, being sure to make straight parts. Secure the hair at the bottom portion of hair with a hair-tie. Doing so will prevent excess hair from being woven into the braid. Typically, braids hold best when hair isn’t freshly washed, so to add a bit of texture to your tresses try out a braid cream, like Redken’s Braid Aid. Apply this to the palm of hands and rub through the top section of hair.
Begin braid in three parts as you would a dutch or french braid. Pull the outside strand under the middle and over the outer stand. Continue this pattern on the opposite side, this time adding hair to the outside strand. If you aren’t sure how to french braid, you can find a helpful tutorial here.
Continue with this pattern until you reach the end of top sectioned hair, and secure with clear elastic. Pull hair taut and apply braid aid to excess frizz. Finish with a light hold hairspray.


